The Slip Lead
As dog trainers, we are on the receiving end for hearing about ALL sorts of ‘problem behaviors’ inside and outside of the home. What’s the common denominator? A lapse in communication and a relationship that has room for improvement. There’s no shame in that; every relationship takes work! Here’s the secret… Walking your dog is the single best thing you can do to improve that relationship - and when that improves, when you better understand how to clearly communicate with your dog, it’s much easier to help everything else fall into place.
Walking a dog with a slip lead can be an effective and safe way to enjoy a walk with your best friend. It’s a communication tool that allows you to literally connect with your dog, so that the slightest movements and most gentle corrections are clearly understood by your dog.
Why do we recommend a slip lead?
A slip lead is a very gentle tool that gives you great control when it comes to walking and guiding your dog. Used correctly, you won’t have to use any kind of force and will definitely not hurt your dog.
How do we use a slip lead?
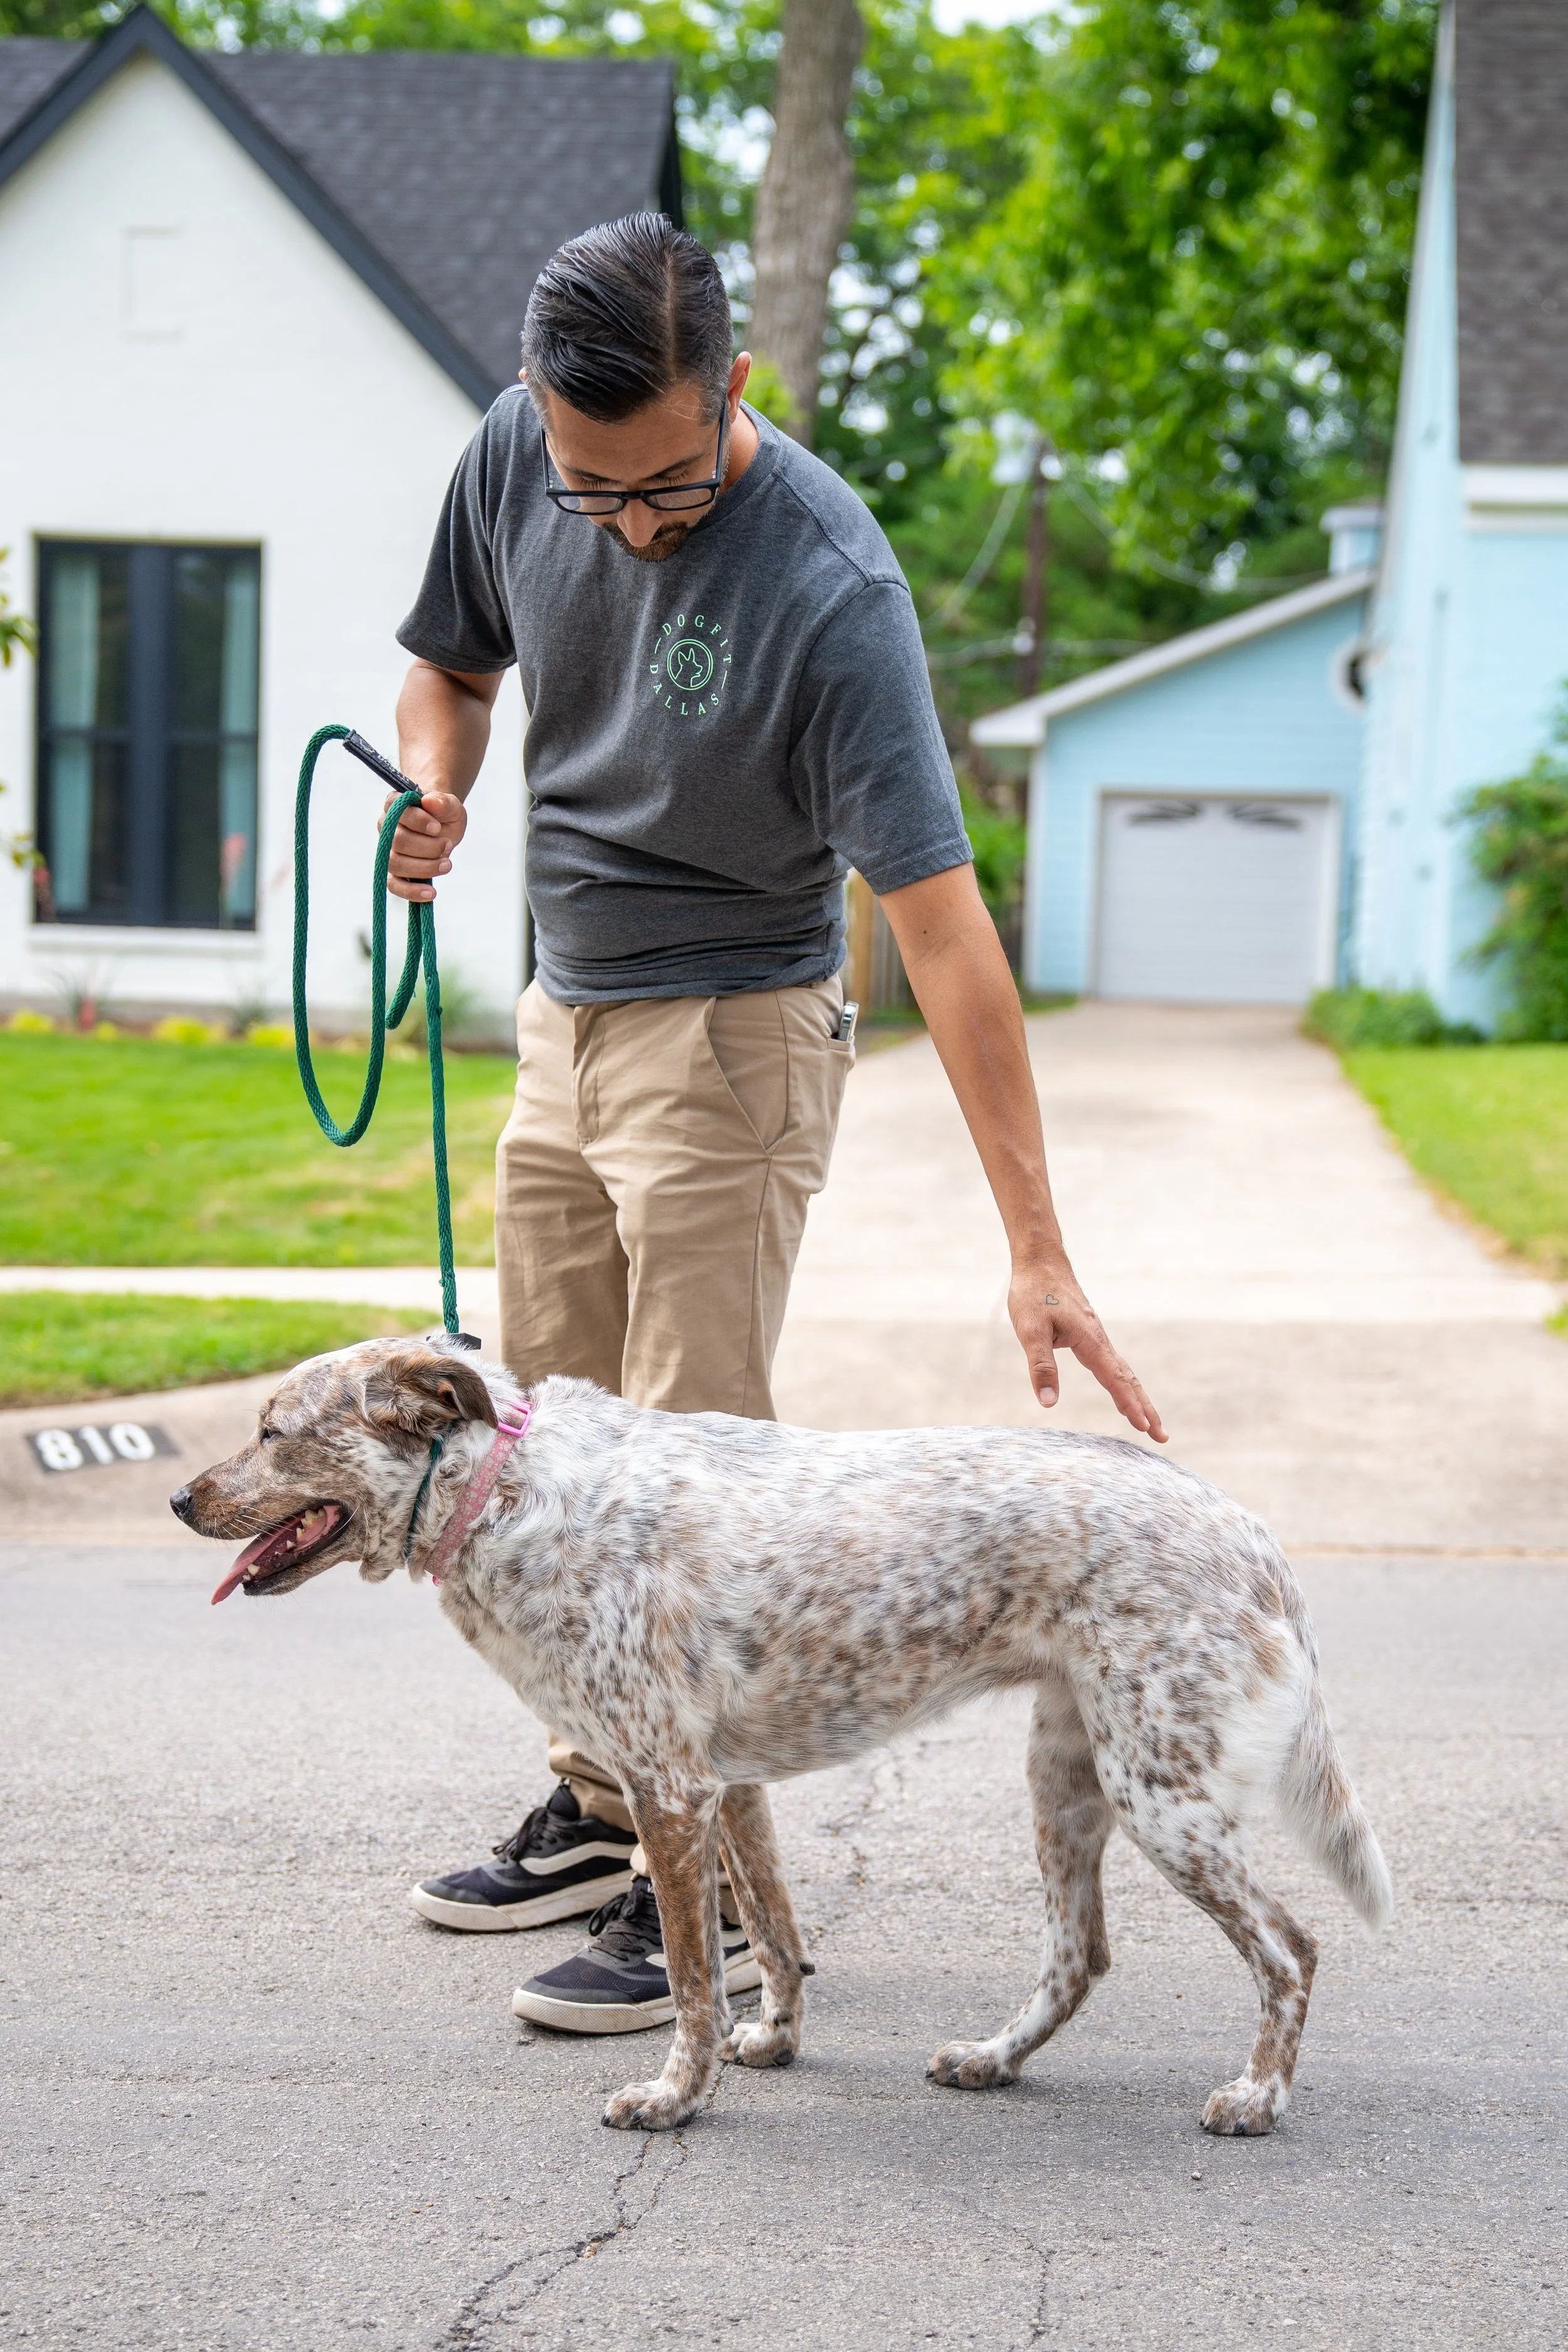
We want to position the slip lead high up on the neck, right behind the ears, on top of the flat collar. This will take the pressure off the trachea and allows for more control. The more control you have over the body, the more access you have to the mind. If it’s all the way down on the neck and close to the shoulders, it enables the dog to pull more because the bottom part of the neck/shoulder is the strongest part of the dog’s body (which is why harnesses were originally created for sled dogs to encourage pulling).
Then, we want to decide if we want the dog to walk on our left or on our right side because there’s a right and a left way to put on a slip leash.
When your dog sits in front of you facing you, create a p shape with the leash and put it over your dog’s head (this is for when the dog will walk on your left side). Create a q shape if your dog will walk on your right side.
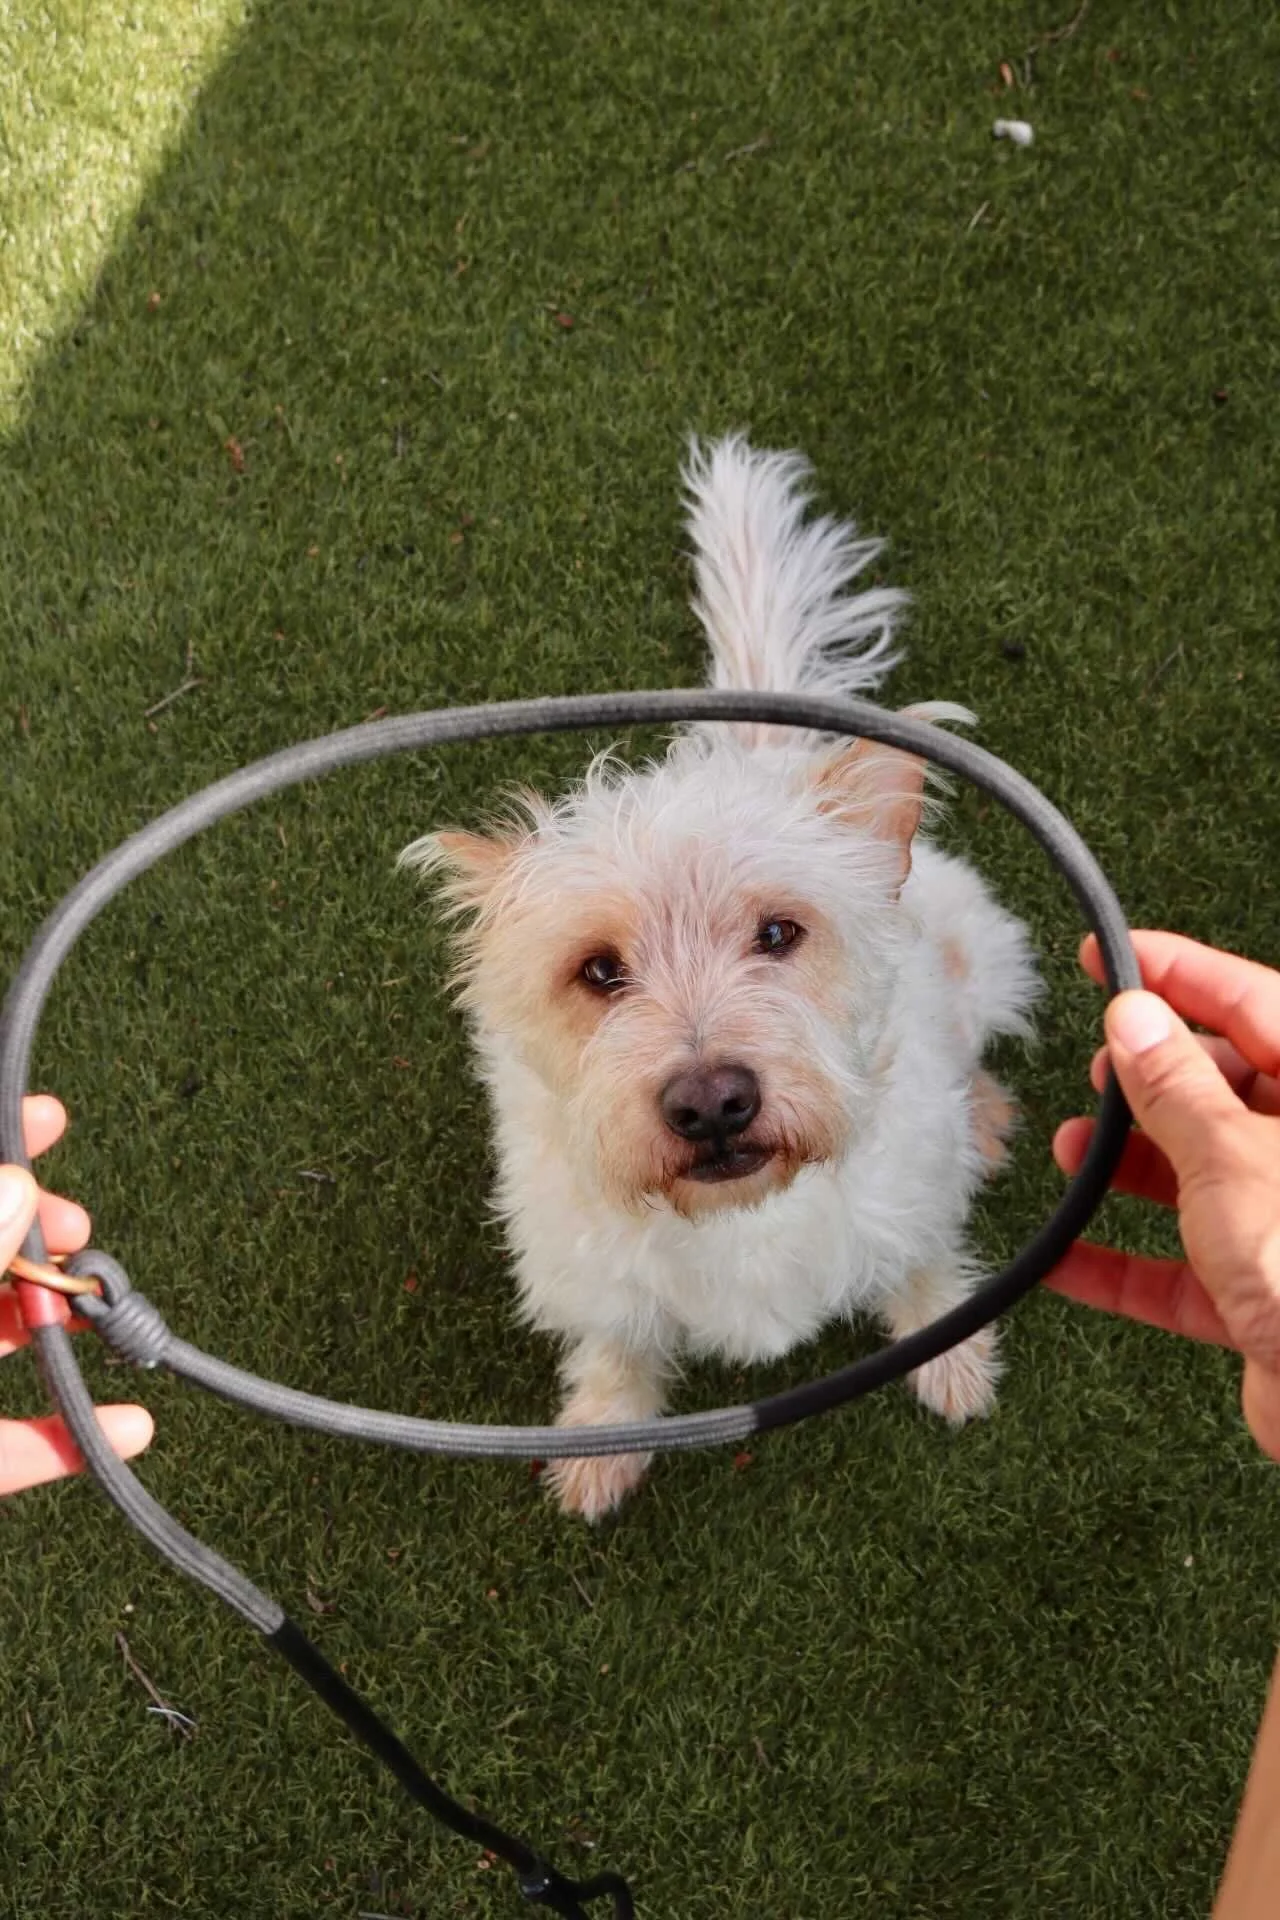

Placing the slip lead on your dog
Make sure to slide the stopper down so the leash doesn’t move down all the way to the bottom of your dog’s neck but not too tight to create constant pressure around the neck. There should be about an inch between the leather stop and the ring if you apply a bit of pressure on the leash.


How to hold the leash
Think “thumbs up, coffee cup”. Hold the leash up, and grab it like a coffee cup. That way, your pinky finger will be towards your dog which allows for very subtle movement of your hand and wrist to provide feedback through the leash.
Hold the leash short but not tense. There should be a bit of slack in the leash.


Communicating through the leash
We use the concept of “pressure” and “release”. Pressure communicates that we want the dog to do something. Release is the reward when they did the desired behavior. We put gentle but constant pressure on the leash (not yanking, jerking, or tugging) and the moment the dog gives us the desired behavior and state of mind, we let go of the pressure.


Pressure/release is something that animals understand easily. It’s how they communicate with each other. Since humans and dogs are different species, we need something to build a bridge, so we use a leash to help us out, and we need to teach the dog what this type of pressure means.
Pressure/release works in all sorts of scenarios. If you want your dog to calm down, if you want to guide them onto/over something they may be unsure of, if they’re jumpy/excited/anxious/fearful/hesitant… it is a great way to communicate what you want without having to use words and without getting frustrated. The leash is your best friend... besides your dog, of course!
Ready for more? Check out our guided leash handling course, complete with video tutorials, leash drills and exercises, and tips on getting the most out of your slip lead.
Invest in yourself. Invest in your dog. Invest in a better life together.